Wednesday, October 18, 2006

Art show quilt

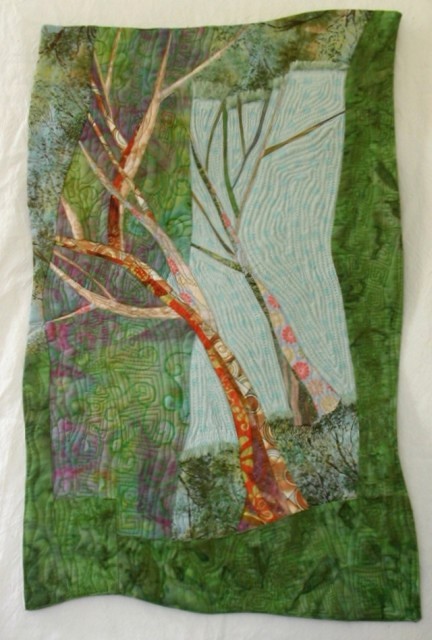
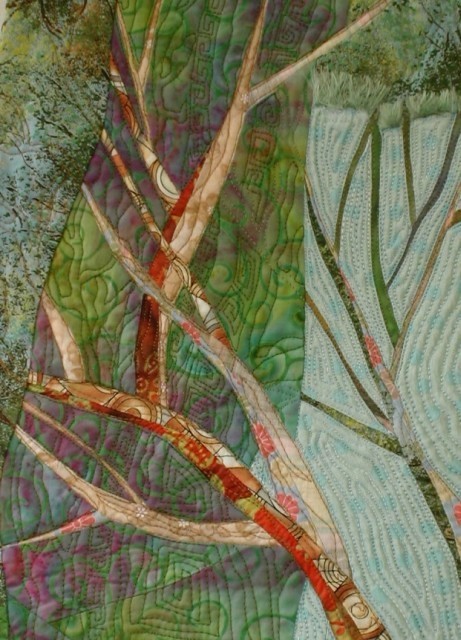
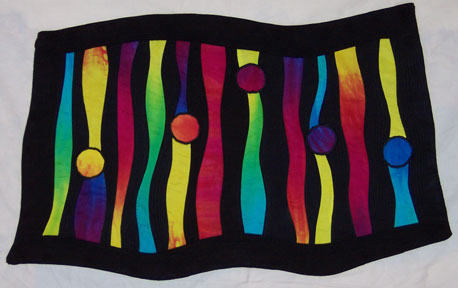
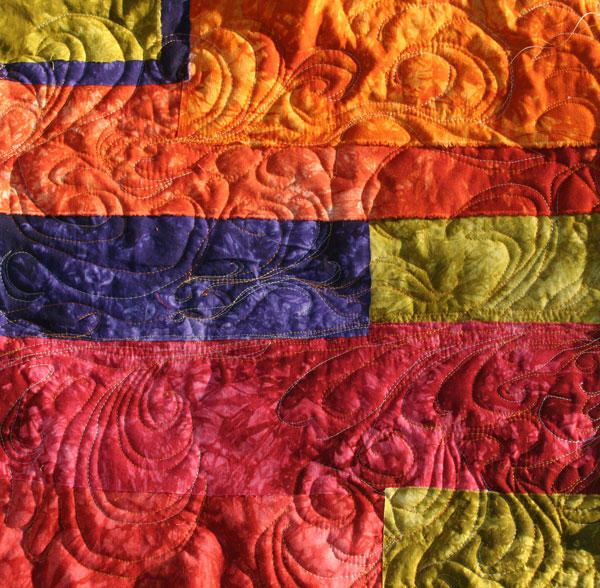
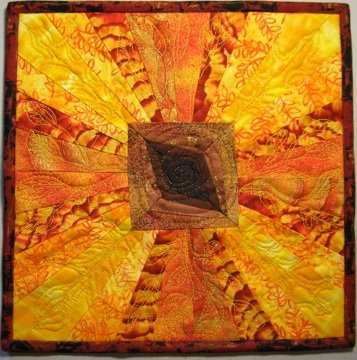
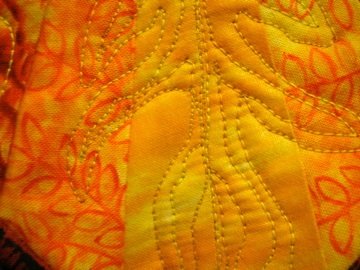
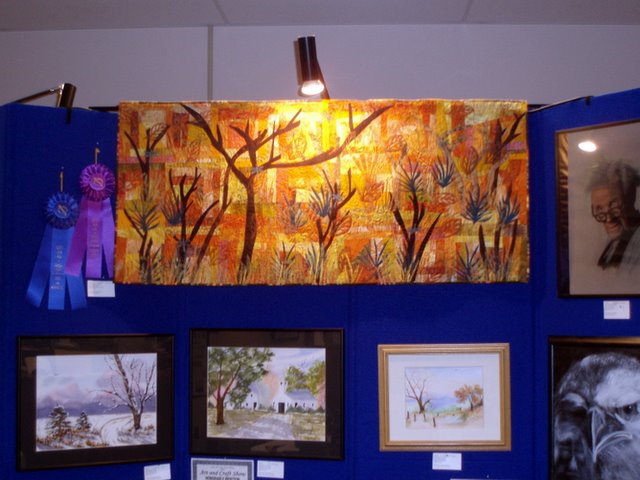
As requested here is a picture of the art quilt I entered and won best in category and best in show...not the best picture... but here it is as it hangs at the show. Posted by Picasa

Tuesday, October 17, 2006

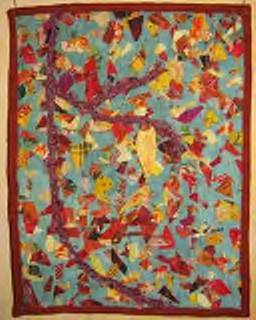
Autumn Branches by Linda Cline - Revised


There was one branch in the quilt I made that bothered me, because it was larger than the branch it was growing out of. It irritated me enough that I decided to reconstruct that part of the quilt. I took out the quilting from just the offending part, unsewed the seams and reconstructed it with tiny little appliqué stitches and a bit of additional background fabric. The supporting branch is now slightly larger,
and the branch growing out of it slightly smaller. The branch still grows larger than the base near it’s middle which is a bit strange, but it doesn’t irritate me every time I look at it. I am happy with my quilt now. I will now be able to display it withouth thinking "I wish I would have".


Here is the original blog post where you can see the before picture.

Conclusion: Yes, you can fix patchwork after a quilt has been quilted. It is much easier to fix before you have done the quilting.

Sunday, October 15, 2006

Harvest Moons


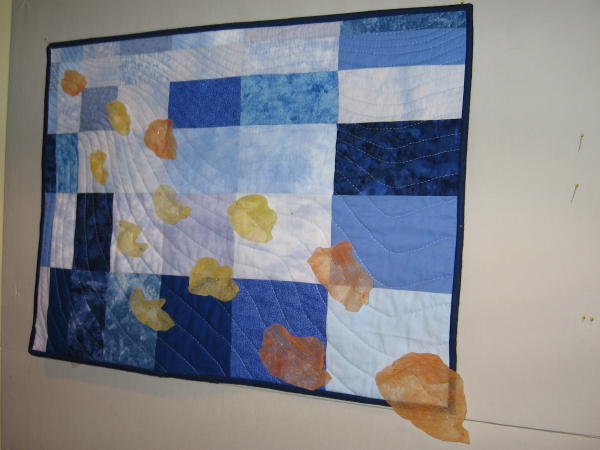
Here is Harvest Moons. The fabric is ArtFabrik by Laura Wasilowski. Fabulous stuff. I free motion cut the fabric, heavily quilted it and then appliqued the moons. I think I will remove the moons, make them slighly larger and reapply them. (Thanks to the use of Misty Fuse, I can do this with a little bit of heat.)


Everyone I know who has died, has died in the fall. This fall brough two deaths -- my uncle and my friend's mother. They were waning at the time of this challenge and both died within a week of my finishing this piece.

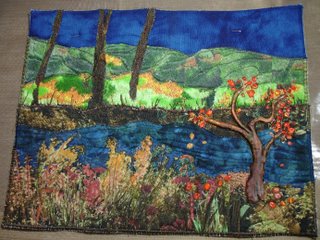
Spawning Salmon River Run

Measures 8.5 x 11 and is done horizontally as opposed to vertical as were the Journal Quilts.
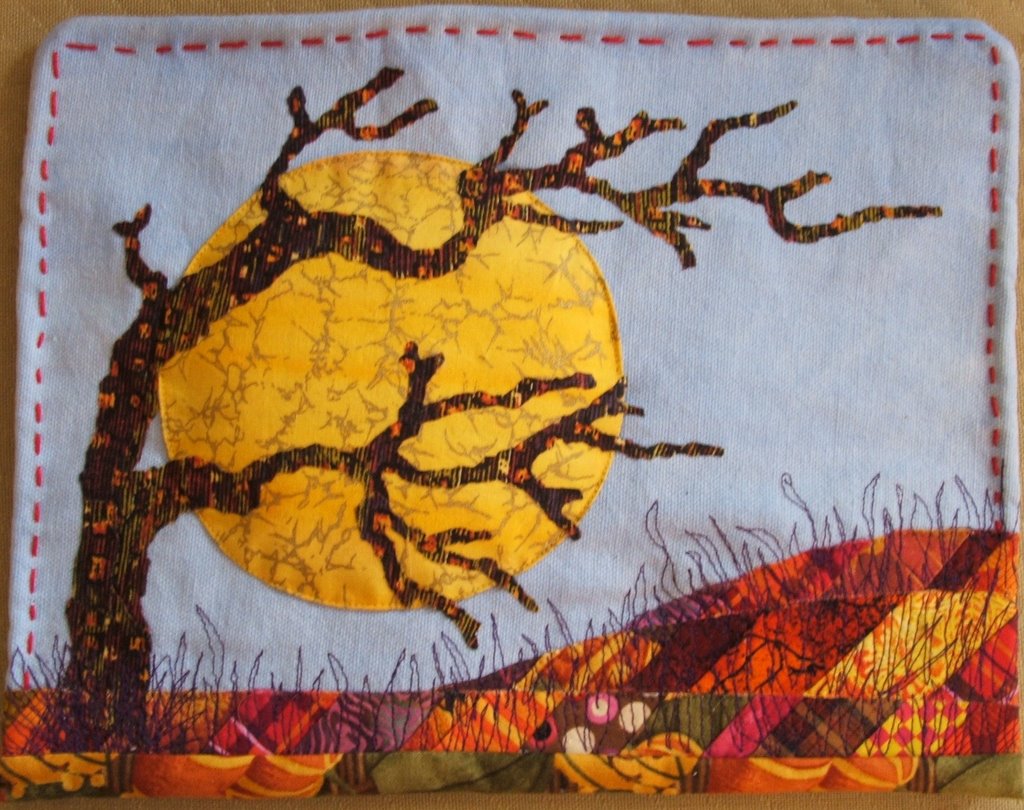
Here on Vancouver Island and its Salmon Capital, the early morning mist slowly rises, revealing nature's annual phenomena... the spawning salmon river run. The fish come in here from the Sal Water and wait for the tides to rise and up the river they go. A feasting time for the birds, particularly the carrion bords, crows and seagulls.
I tried to depict all this using silk organza[the mist], painted fish [Koi in this case... loosly called salmon]a silk leaf [ depcting the alling leaves] and beads together with metallic thread to reflect the water and the moist air as the mist rises.
Additionally, I have placed a crow feather [black] at the top and a gull feather [white] at the bottom. A hapless star fish waits, too, for the rising tide, but for other reasons.
I know the sizes are not porportionate to each other and this was deliberate.
I look forward to your comments. Posted by Picasa

Friday, October 13, 2006

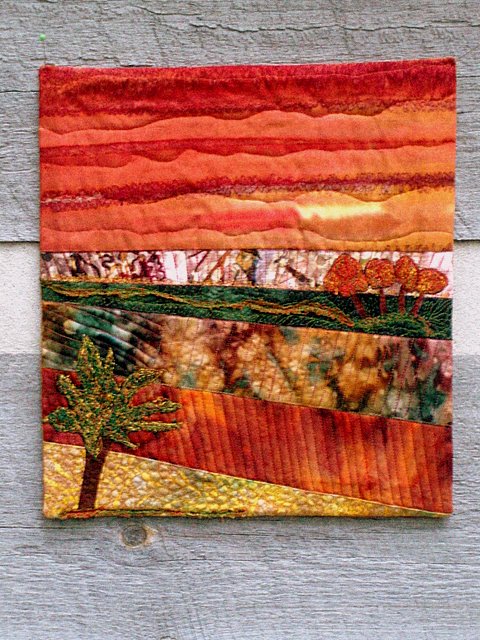
Autumn Glory


10 3/4" W x 8 1/4" H

Hand painted sky fabric, applique, strip piecing, trapunto, machine quilting, embroidery.

Thursday, October 12, 2006

Autumnal Swirl


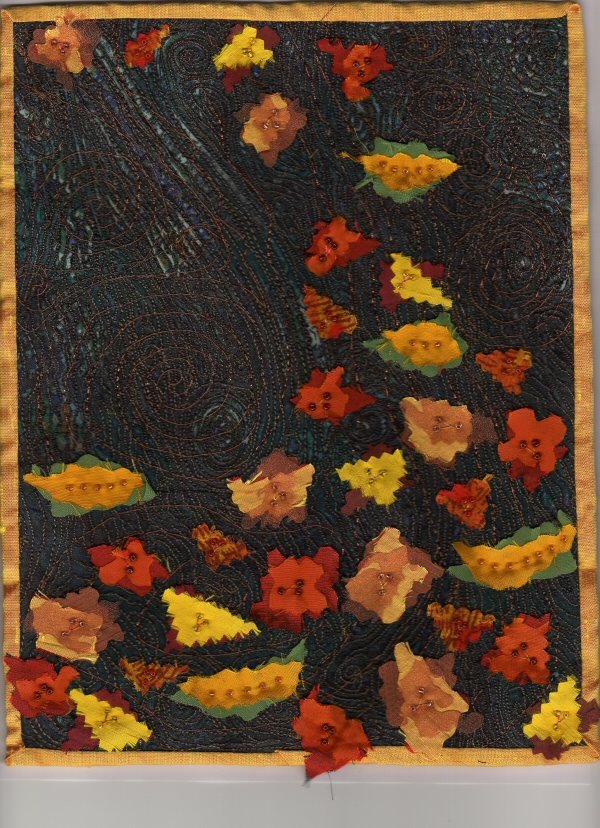
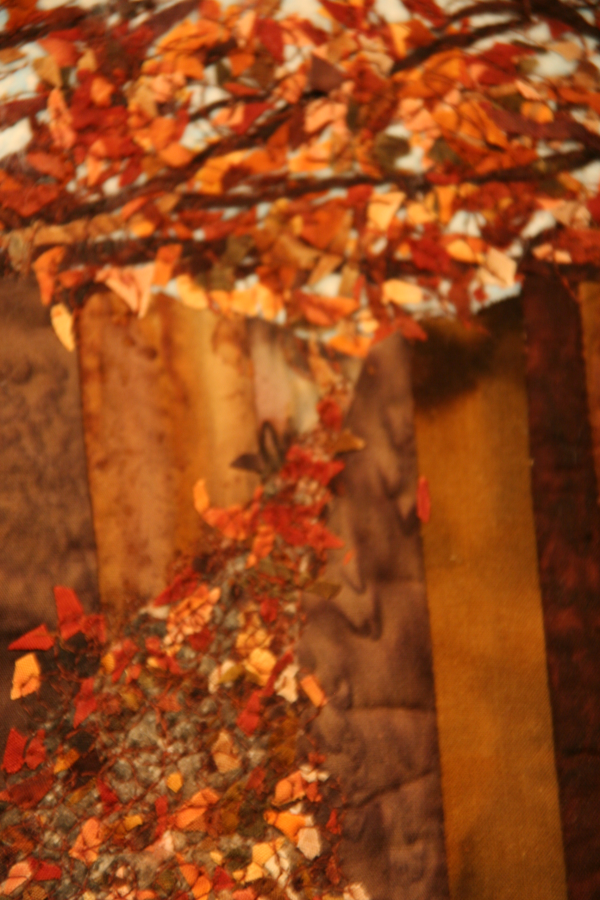
I used silks for the leaves, and the camera has a hard time reading them because of the shine they give, so they look abit blurred, but I wanted to use a flash to show what I did with the bark of the tree. A few leaves have copper coloured sheer on top of them.


I layered sheers on top of swirly turquoise coloured fabric, and then did FME over the top. I used the heat gun to melt some areas back to show the underlying fabric. This created the texture of the bark, and the revealed glimpses is like the turquoise coloured moss that grows on some of our trees.

The leaves are free cut. Most are brought forward by having a dark leaf shape under a lighter one. Then most are caught down with a fly stitch, and highlighted with beads. The swirls of wind are done with dark and light copper metallic thread.

The binding is shot silk dupion, and is gold, but shifts to reddish orange. I feel I have crammed the swirl in abit, and perhaps would have had more freedom with it if the piece was larger. It is 8 1/2 x 11 in.


I added a no flash image of the piece I did. The leaves come out looking dark and blurry because the camera has trouble reading the shine on the silk (I haven't learned all the fiddly bits of the camera!) However, perhaps you get a better idea of the dark bark. The synthetic organza sheers were black on top of silver (giving a grey effect) on top of a thin turquoise and blue silk with paisley- like swirls.

Tuesday, October 10, 2006

Autumn in Torrey/ revised

Here it is with faced finishing instead of ribbon, and I quilted the tops of the clouds with white silk thread. You canbarely see it, but it seemed to define the clouds more without spoiling the wispy effect. What do you all think now?

1st Challenge


I'm posting a picture of my challenge piece. I know it has a lot of problems...and no name. Please help me!

Challenge #1 - Suggestions


Hi again,
I just read a comment posted by Jean, and she asked about my thought process in putting together my colors & fabrics in this way.

Well... there is a story there, so I thought that I would post it in the body so everyone could see it. (and i cant figure out how to reply to a post!)

The fabrics came from a grab bag of Starr fabrics that I purchased in Chicago. They have several color combinations and I just love the "Harvest" Colors. Fall is my favorite season.

I had the bag out to show someone and i thought that it would be a perfect source for my challenge piece. And it would force me to stick within a set limit of options for color. I have a serious issue with over working anything that i am working on. I just keep at it until it's a mess....

Anyway, I had my color set (after filtering through the bag and cherry picking), what i needed next was a design. My fist choice was leaves and trees, but i thought that many people would be looking in that direction. I usually do projects were the subject is clearly identifiable, I think it comes form too many years of life drawing classes. Suffice it to say , I have a hard time doing anything abstract(in fact i keep thinking, "what if i put beads on in a leaf shape...). So, I thought I would attempt to do something completely different and work with rectangles. although I stuck to the organic shape when i was quiting, I had to counter my rectangles with curves...couldn't help it.

I hope that this answers your questions Jean, oh and it does not have a title yet....any suggestions?
-------------------------------

Monday, October 09, 2006


Spiraling into Winter is paper pieced with 9 cotton fabrics. It was pieced in four 1/2-square triangles--2 of them reversed. This is a method I have done before but am working at getting things square and a with visible motion. It is machine quilted with King Tut thread. This is the first time I've used the thread and was extremely pleased with it. The quiltlet is small--only 9 3/4 inches square.

I had a good time with this challenge. Comments welcome.

Sally

sewinginsa


Fall Guy

Fast Friday Fabric Challenge #1 part 2

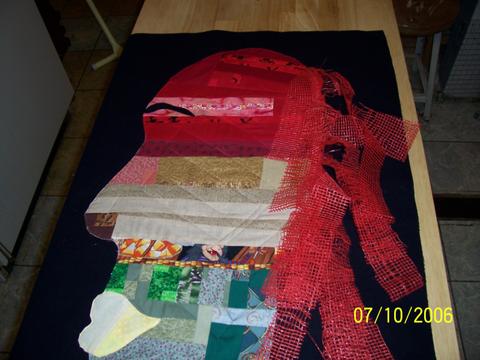
I've had to remove the hair & start over! In my haste to see if I could use the element, I neglected to figure out that it might ravel after it was attached. When I was moving the piece around to finish the profile & do some quilting & adding other elements to complete, that's exactly what it did....RAVEL! So I'm back to square 1 as far as using the orange bag for hair. Since I had gotten such posotive feed-back on using this material in the 1st place, I'll need to come up w/ an alternative method of attaching it! (SIGH)

Rose Glow Fields

By Joe I think I've got it..... a post on the group site!

Thanks for the help !

This piece is 13 by 15.

I will appreciate any input.

Jacque Posted by Picasa

Sunday, October 08, 2006

Fall by Joanna Strohn


I would very much appreciate comments on my quiltlet "Fall". I am new to art/abstract quilting and eager to learn. I'm mostly self-taught between books, QuiltUniversity.com and a few classes. I have not had any art training since high school though I had a career where I had overall responsibility for the advertising materials I created. But quilting is a bit different that having a large art staff at my command!

My construction steps are here.

Please see the comments below the photos for my thoughts as I did this project.

I'm considering adding a few beads at the tops of the leaves. Thoughts on that?

Thank you so very much for sharing your thoughts.

-- Joanna in Tucson

Fall Colors

Here in Northwest Florida, Fall is still pretty green. But in my mind I remembered all the spectacular colors of the season from the few years I spent in Connecticut. So I had vision of a swirl of color and tried to create that memory.
I started with silk, which I painted in shades of oranges, with some green and purple thrown in. The colors looked appropriate for a pumpkin. I then stamped the silk, added a little Angelina fibers, and some paper leaves. So to soften it I covered the silk with two layers of organza. The first one was an old yellow scarf and I was not happy with the results, so I added another layer of a different color. I then quilted it, burned away a few layers in places, and stitched on various strips of organza. To give it dimension, I embellished it with fibers, beads, sequins, and parts of an old earring.

This was a fun challenge; I look forward to the next.

Saturday, October 07, 2006

Untitled by Brenda Jennings


This has been fun. I had not intended to make such a large piece (it is about 30'x40"), but the background just kept growing as I kept adding more of my favorite fabrics. My quilt is intended to be an abstract of trees/leaves in the woods. I created the background out of 1.5" (finished) squares. I was hoping to create a feeling of depth with the use of color and value. The "tree" shapes are fused over the background. They are also intended to increase the sense of depth. The whole thing is free motion quilted with King Tut (background) and Sulky (trees and borders) threads. I have not added an actual 3D object to
it, as I just felt like it was "done". I welcome any comments. Thanks.

Autumn in Albuquerque


This is my challenge piece, "Autumn in Albuquerque".

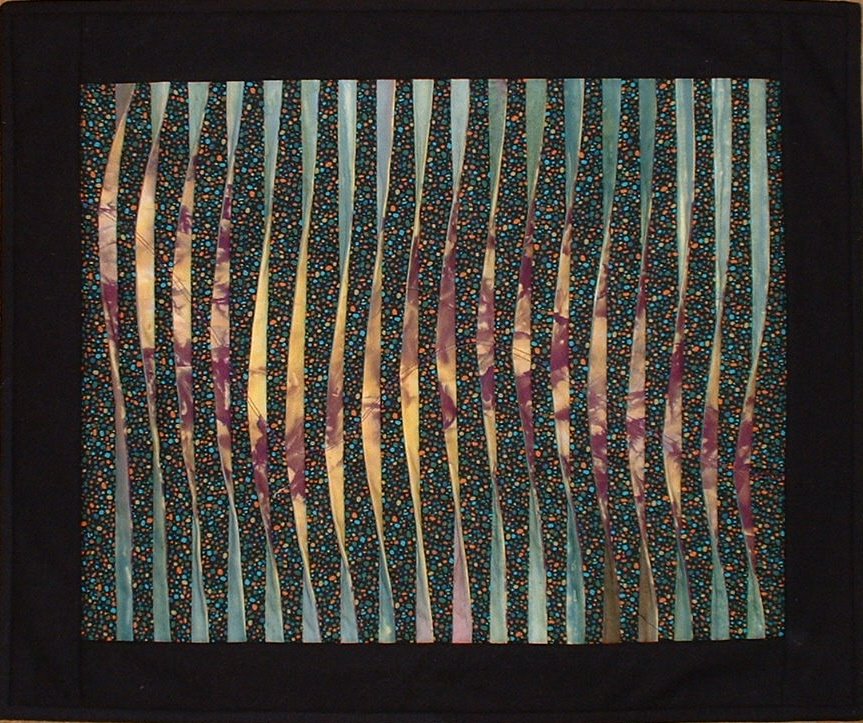
The idea behind it was--Autumn here in the Southwest is usually a little later than in other parts of the country. When I looked around, I saw a lot of green still, and what I really noticed was an abundance of yellow and purple flowers. So I knew that I would use the new yellow/purple fabric that I handdyed a couple weeks ago. As for the 3-D element, I have been wanting to do a quilt with the pleats that are a different color on each side, and this was the perfect opportunity. I used green on one side, and the yellow/purple on the other side to symbolize the change of the seasons from Spring and Summer greens to Fall. The background is black with irregular dots of yellow, tan, greens and turquoise-- colors of the SW.

This is my first attempt at blogging, so we'll see if it works!-- Elizabeth in NM

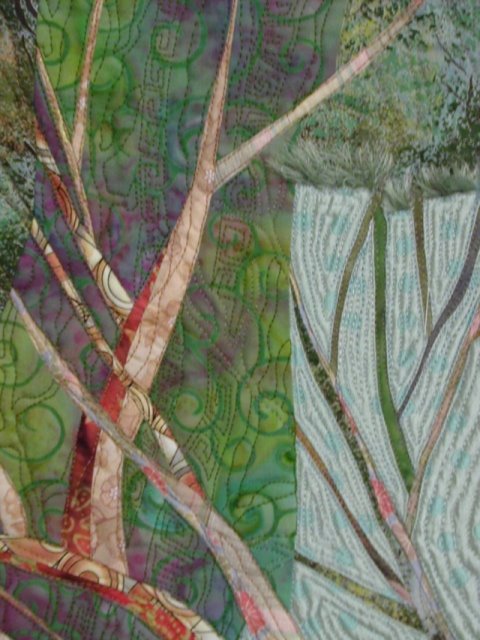
Autumn Branches


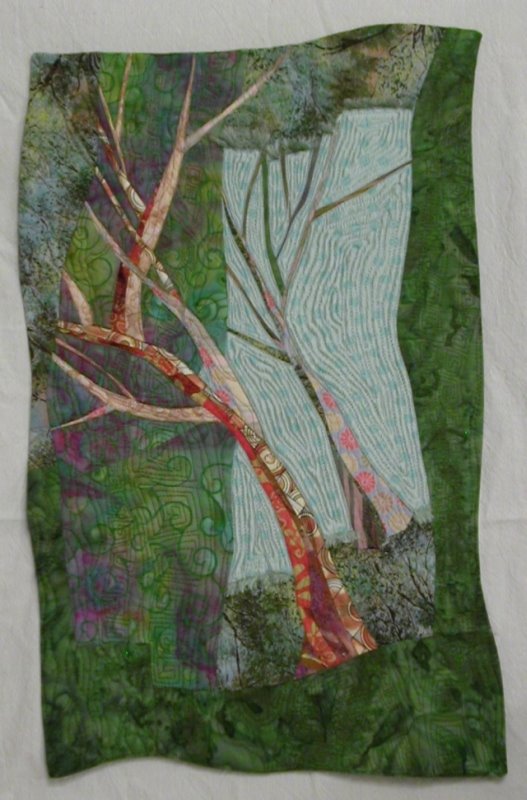
14 x 22; Cotton, silk; Machine pieced, raw edge applique, machine quilted.

I had several rejected ideas before I settled on one. Washed and dried a silk remnant to use as the backgound for my idea. When I got the silk out of the dryer, my final idea got rejected and I did something totally different with it. The quilt took over on this one, and I didn't know where it was going until it was completed.

I used Rosalie Dace's "Skinny Bit" technique that I read about on Gerrie Congdon's blog to dissect the light blue silk I had and insert branches.


I decided to keep the frayed edges on the silk. I raw edge appliqued it to a top and bottom border. Then I sewed on a side border. Then I decided to add another branch that would also overlap the borders.

Depth in this piece was achieved by the foreground branch being brighter, warmer, and larger. I also tried to add dimension to the branches by piecing the larger branches with multiple shades of fabric.

A few things bother me. The large branch near the top left corner is larger than the branch is it growing out of. The light blue silk should be the most distant in the composition, but the fringe being on top of the other fabric makes it rather ambiguous, and it has a high sheen which makes it the most noticeable fabric in person.

I'm not sure what I'm seeing as far as subject matter. Does it matter? What do you see? Are these trees or branches? Are they falling over or being blown by the wind? I noticed when I was nearly finished that the two trees (or branches) are nearly identical. The furthest almost looks like a reflection in glass.

I was reminded while making this piece how much fabric gets distorted and shrunken with this type of free form piecing. Getting it to all fit together was a bit of a challenge.

This was fun. I took a while to get started, but once I did start, I worked intuitively and the quilt almost made itself.

Any comments and suggestions will be appreciated.

Friday, October 06, 2006

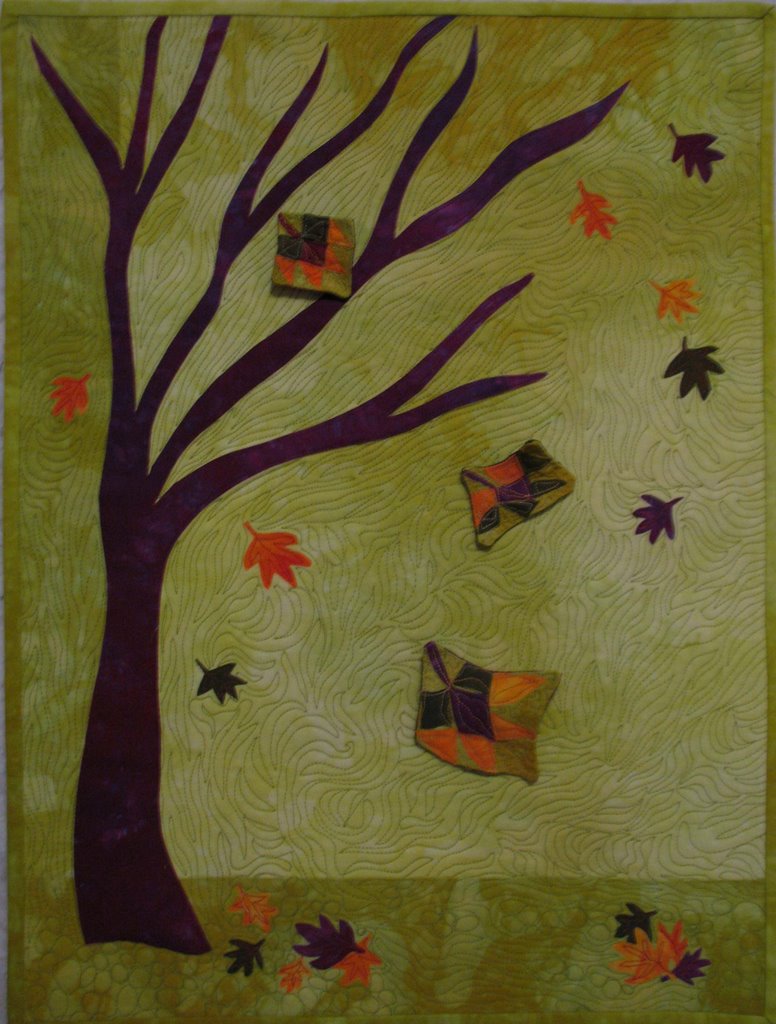
Maple Leaves

Maple Leaves is 16 x 22" and is constucted using hand dyed fabrics, fused applique, trapunto, and lots of free motion quilting. The 3D elements are individual little quilts that are pieced or fused and stiffened with a glue & water solution to hold the curvy shape and come off the surface for a bit more depth. I was going for both movement (with the varying positions of the leaves and the quilting lines) and depth (with the trapunto on the tree, varying sizes of the leaves indicating some close and some farther away, as well as the little 3D quilt blocks which cast shadows). My traditional roots show up...the smallest 3D quilt block is the traditional pieced block called Maple Leaf.


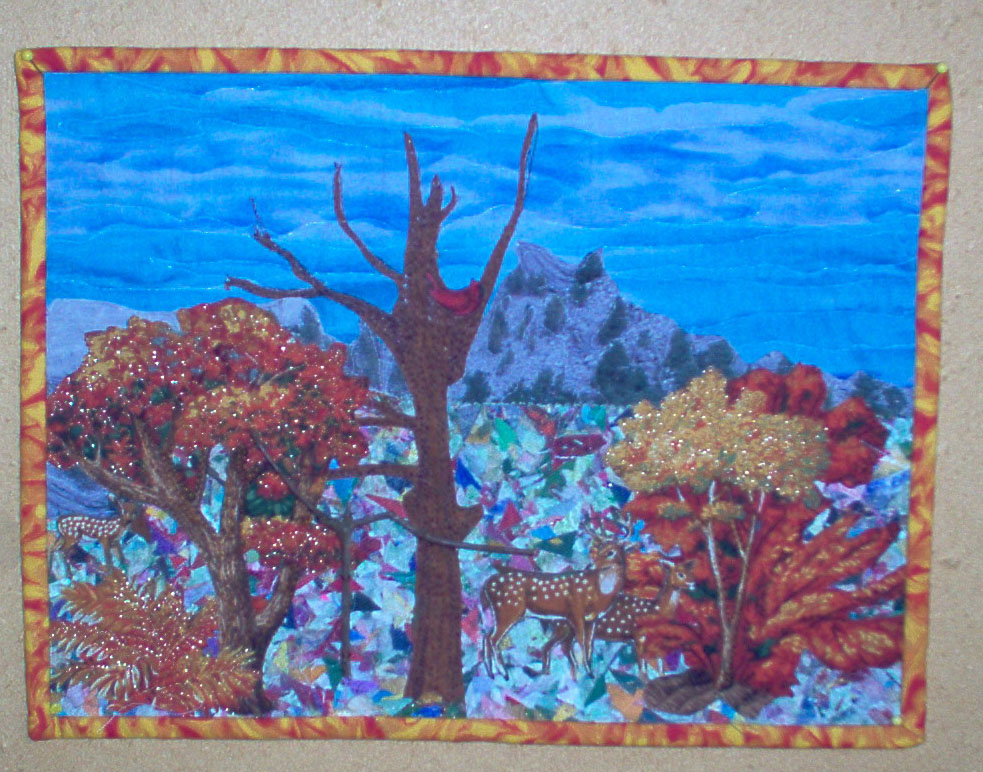
Remembering New England


Being a transplanted New Englander (I'm living in Alabama now) my first thought when I saw fall colors was the changing leaves.

I started out by selecting a piece for the sky and appliqued a photo transfer of a mountain. Then for the ground covering I spread out the little "dog ears" that are cut from triangles, covered it with tulle and quilted over them to keep them in place. There was too much white so I colored over them with a green marker. It was supposed to represent a field that was still green with flowers scattered around. The picture kind of wiped out the green and gave it, in my opinion, a frosty look. I like that better.

The big tree in the center was a copy of a tree in my yard without the leaves. It and the other tree to it's left were partially thread painted to give them some dimension.

The other trees and deer were fused on and appliqued down with invisible thread and quilted with gold metallic thread. The sky was quilted with invisible thread.

I love 3D and embellish everything that I can but for this the 3D was my biggest challenge. I couldn't think of anything that would look right. Finally I started a mental litany of things I had used previously and when I got to "twigs from the yard" I decided that would solve my problem. It doesn't really show up in the picture but the little dead tree with the branch going over the deer is a real twig.

BTW- my sister, who's husband is a hunter, couldn't figure out why that deer has horns and spots. I have since removed the spots so he is now full grown. I had just cut it out and never gave it a thought.

Betty

Thursday, October 05, 2006

Autumn's Transition


11 1/2" tall x 9" wide

Fused applique with heavy machine quilting

This quilt was designed to show the transitions of Autumn. The first tree represents early Fall with mostly green leaves that are starting to turn red, yellow, and orange. The second tree is mid Fall, with mostly brown leaves with highlights of the other colors, some leaves on the ground. The tree in the background represents late fall with its nearly barren branches, brown, green, and orange leaves at its base.

I have added the dimension to the quilt by showing the depth of the scene. I used 3 different greens to create rolling hills and added purple mountains in the background.

Things I would change~ I didn't have enough time to machine satin stitch the appliques like I would have liked to. It would be a better quilt with finished applique pieces.

Also, my binding is not even around all the edges.

To my critique-ers~ I love the nice "that is pretty" comments, but please do suggest a couple things that would improve the piece! I have tough skin and can take it.

Thanks for looking!

Julie of Calicodaydreams Posted by Picasa

Autumn Walk


I wasn't going to post here. I know this piece has a lot of problems and it seemed silly to bother you guys with it. Then I realized that you may be able to see other things I could have done differently that would help, so here I am. The whole thing is pieced on a longarm, the tree trunks are a quilt as you kind of thing. The trunks in the foreground have more wadding in them so are very three dimensional in the flesh. Sadly that doesn't show in the photographs. The leaves are tiny scraps of fabrics from my other fall quilt 'Golden Storm'. I think this design could work but it needs more contrast. If I were doing it again I would also make the tree trunks thinner, to me they look too chunky. I quite like the way it looks like the leaves are pouring down a funnel. It wasn't what I was aiming for though, it is supposed to be a path through a very dense forest. Would the path look more path like if I moved the vanishing point lower? I put it up high because it seemed to make the trees look taller, but now I am not so sure. I was also looking for a dark almost claustrophobic atmosphere, again I think that sort of works but not as well as it could.

Wednesday, October 04, 2006

Last Holdout


I already know that there needs to be improvement in the binding process...what a wavy mess!

I tried to fix the original piece (without tree or leaf) by adding a focal point.

Any suggestions welcome.

Marlene

Autumn Blues


I've posted my piece Autumn Blues. It measures 21x28 inches.

My inspiration was the the bright blues of the sky during the fall.

My extra challenge to myself was only to pull from my scrap box - no cutting into fat quarters are any yardage.

This is so cool - I've been taking some design class for the past two years and have focused on leaves - this year I plan to branch out. Anyway so the subject matter was perfect for me. I met the 3D aspect by painting dryer sheets and using copper wire to relieve them from the surface. I used scale to show perspective for the leaves and sky. Also I spaced my quilting to hopefully give some perspective.

Lisa - In Sunny Seattle

Autumn in Southeast Texas

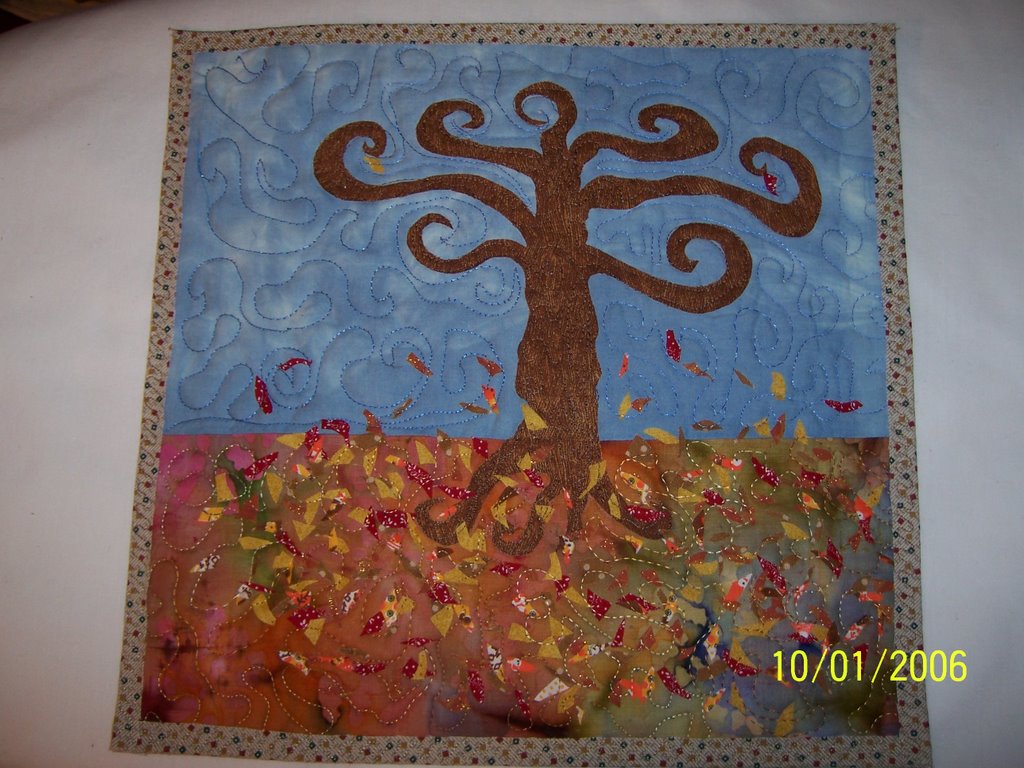
My piece was inspired by a tree I saw last spring while fishing at Toledo Bend in East Texas. It was the curliest tree I had ever seen and all the roots were on top of the ground. My daughter was with me and had her camera but she wouldn't take a picture because she said it looked too scary.
Southeast Texas doesn't have much of an autumn. Our grass doesn't even turn brown until the first frost and we may not even get that until February. Some years it doesn't even get that cold. We don't have the beautiful fall colors that other parts of the country have, but in the fall we have the most beautiful skies. This is my interpretation of the fall colors.
My piece is 12"x12 1/2". I used cotton fabrics and cotton batting. The sky fabric is one that I hand dyed. I fused the pieces with wonder under and quilted it with rayon threads. My 3D elements are the leaves. Although you cannot see them, they are held down by the quilting and stick up off the fabric backing. I fused the binding. All in all, it was a fun piece to do.
Harvest Fields

I joined this group for two reasons - to learn new techniques and to received feedback on my work...I"m new to art quilts and am excited to hear constructive critiques. Size: 9x11. The background is muslin painted with acrylic - pale yellow overlaid with Kansas sky blue. Each layer is a separate quilt. The foreground is fabric that I sewed tucks into and quilted between the tucks. The harvest field is raw edge applique (first time to try this - I like it!) on the yellow field. The tree line is also quilted separately. I have a new sewing machine that can sew through multiple layers - this was the first time to test that feature - worked GREAT in the binding - very pleased with that. My inspiriation for this was a drive through Kansas last week on the way home from a conference in Hutchinson (just north of Wichita). I kept passing these striking fields of sorghum (at least I think that's what it is) yellow stalks with red fuzzy tops. These fields against the big blue Kansas sky were so striking I tho't I need to figure out a way to quilt this. I woke up Sunday am and could "see" this quilt. It's rather simplistic next to many of the ones created in this challenge - but I like it.

Tuesday, October 03, 2006

Fall on Water


I'd appreciate feedback on my quilt, Fall on Water. It's about 12X10 inches, done with my hand-dyed fabric exclusively. (The colors really are better than they are showing up on the computer.) Fused applique, the upper left leaf is the 3D element, attached only at the stem and point, made with wire between two layers of fabric and interfacing so I can "pose" it. I finished the edge with satin stitch (not enough fabric for a same-fabric binding)- that is one element I would change next time.

Thanks for your comments!

Beverly

Just Beyond the Next Hill


8"x11.5"
Sky is unbleached muslin painted with acrylics.
Cotton prints, aiming for a graduation of values and colors. Had to go with blacks and grays as the leaves were lost on Autumn colors.
3-D objects were a variety of leaves from my yard prepared with the
Precious Petals directions.
I used gold chiffon on the front and gold tulle on the back.
Penny Sue Irwin

Leave it to Me


Leave it to me to get it wrong! That was the incentive for the title for this piece. I misinterpreted the 3D requirement.

I layered a piece of hand dyed velvet, painted some bondaweb and fused it to the velvet. I covered the bondaweb with hand dyed throwsters waste covered it with chiffon and machine quilted at 1/4" intervals. I zapped the chiffon with the heat gun to show the colours underneath.

After I trimmed the quilt to size, 8 1/2" x 11", I applied a piece of the background onto the quilt surface which was woven into heated copper shim which I had painted with acrylic paints and embossing powder. I applied some gold leaf in autumn colours to the copper shim once it was stitched to the background. I also painted small areas of the background with Ormalene mixed with superfine metallic bronze powder. I layered black felt and orange silk organza, drew some leaf shapes with bobbin work using Ricky Timms razzle dazzle thread in glitzy purple. I free motion stitched the inside of the leaves with a variegated rayon thread. The quilt is bound with putple hand dyed fabric. The leaves were appliqued after the quilt was finished. I am looking forward to these challenges as I find it difficult to work on a set theme.

Approaching Autumn


I've called my challenge piece "Approaching Autumn". It is officially fall here in Texas, but won't be able to tell by the weather 'til Feb.
I did not turn on my PC this morning as I told myself that today was the day to just get-er-done! I had no idea what I was going to do. I opened a drawer full of scrappy strips & grabbed the colors representing fall. I set a time limit (very short) to pair them up, most where not straight or trimmed. I chain stitched/pressed/& magic sized them & found another same strip from my pile. I turned this to the wrong side & stitched to the pairs to get 3 fractured colors. I used wonder-under & did the 1st fuse to the strings & set them aside to built a base. My piece consists of 4 layers & a stabalizer. The leaves were fused to a heavy gauge black felt that I ended up cutting in a rectangle. I placed them in the order they would be in nature, turning to fall, & fused. The black was put on a burlap layer, then placed on the background layer of dark green felt. This importand element did not show up in the pic very well & I will try to correct this when I get some natural lite with the camera.
The leaves where machine appliqued with corresponding variegated thread. The black layer satin stitched on the edge, & the burlap was satin stitched inside the edge & was later frayed to add a bonus element.
The piece is 10x13 & has no binding. It will be hung by a twig.
I believe that the criteria for the challenge was met by the use of color, multiple layers & stitching. The idea being simple, minimalistic, & I did not add any beads or other embelishments thinking that it would distract from the floating of the leaves.
Hope all the other newbies are having as much a I did, & since I didn't use but a small fraction of the strings, I may be able to do another piece.
Sunday, October 01, 2006

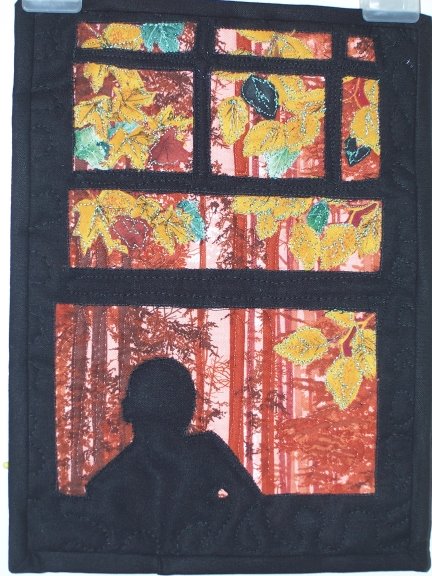
Moonlight Musings


Ok,,throwing myself to the lions here...LOL
8x10.5"
cut the entire silhouette out of black fabric, placed it over the orangy background and then appliqued the closer leaves on... stitched around all the leaves with green metallic thread, and quilted the rest with black and invisible threads...

not quite sure if I met the 3d part of this challenge..I thought the boy's figure would do it, but since technically he is flat is he still "3d"?

Falling Leaves


Falling Leaves: 9.5 x 12 inchesI tried to achieve depth several ways, by perspective, by layering and adding a dimensional tree in the foreground.
Comments?
Katherine

Autumn Shimmer


The photo was the inspiration for Autumn Shimmer.
As with all inspirations, I choose what I wanted from the photos and discarded the rest. The trees on the treeside are made with a fringe foot, which is also called a tailor tack foot. The fringe foot allows the thread to form loops over a metal area of the foot. It is open in the back so the fringe slips off easily.
The sun is made from bondable Angelina fibers. The fibers will bond to themselves, but not the rubber stamp that was used to make the impression. I stitched the sun to the quilt using invisible thread and left some of the threads of the angelina that was not bonded to the stamp form the sun rays.
I choose a journal size to work with, so the quilt was finished in a couple of hours. What Fun.
Priscilla Stultz www.priscillastultz.com ebay store: priscilla's creations

Road to the Sun


I thought as long as I was doing postcards to exchange I'd do one to show depth with at least some autumn colors. It's 4" x 6" titled "Road to the Sun".

Jan Johnson