Showing posts with label Challenge 5. Show all posts

Wednesday, February 21, 2007

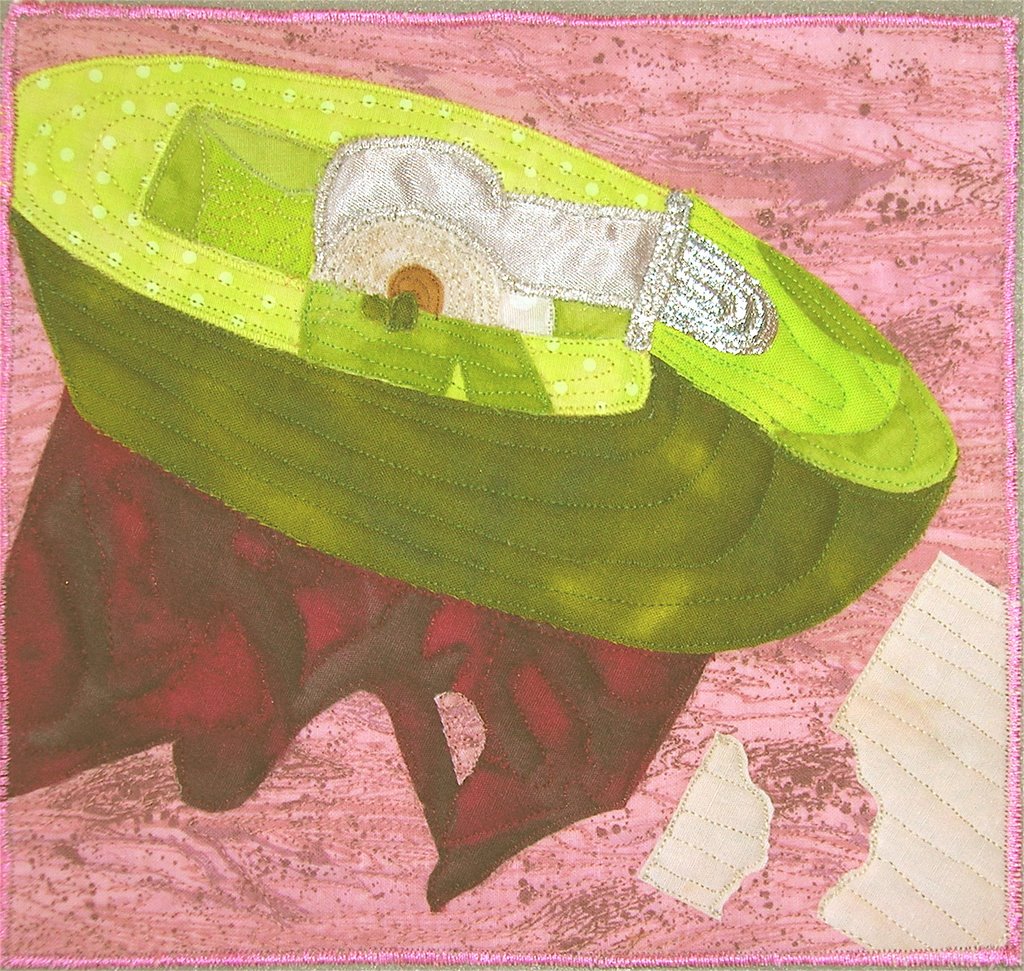
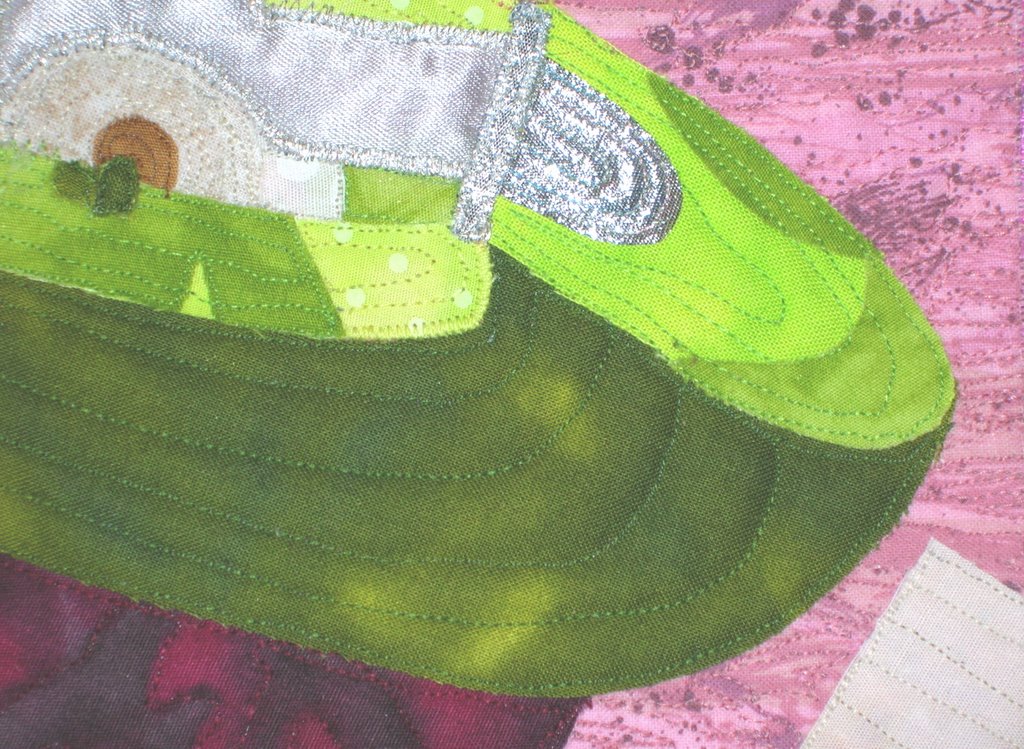
Vases III


14 x 9

I have jumped way out of my comfort zone and created the abstract version of “Vases”. Haven’t decided yet, if I have jumped in the right direction, but it was fun working this way. It could be a style worth exploring. What do you think?

Saturday, February 17, 2007

Vases II

15 x 10

I made Vases II to try some different techniques, and to challenge myself to free-hand cutting without marking or templates. I used Setacolor fabric paints to do the shading on the vases, and edge stitched with embroidery floss.

The shading is giving dimension, while the edge stitching is making it look flat, and I don’t think the two work well together. I like the effect I got in the background by combining both hand and machine stitching.

I don't know about the color of that left vase. It kind of disappears into the background.

Wednesday, February 07, 2007

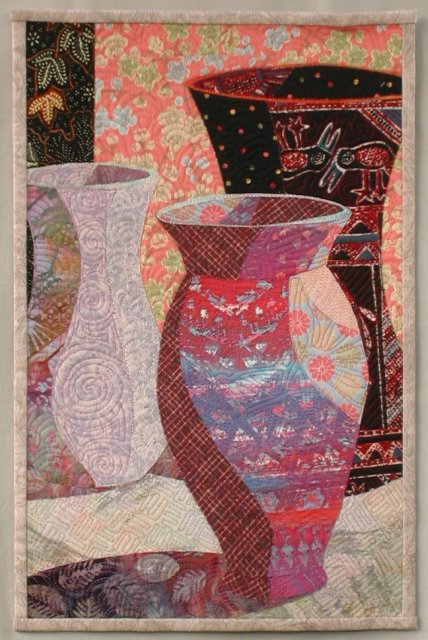
Vases


10 x 15, fused appliqué.

I turned a photo of my still life set-up into a greyscale image so I could concentrate on value instead of color. I was disappointed that the shading didn’t show up good in my photo. Too many reflections that I didn’t want to deal with. So the shading on each vase was done intuitively.

Choosing the fabrics was great fun. I completed the vases one at a time and chose fabrics as I went. I began with the red and purple batik which has been in my stash just about forever. I had no idea what the color scheme would be until I was done. I chose the shadow fabric, because it had some dark areas and I needed the dark lower corner to balance the dark vase on the right.


I was originally planning to crop the top a couple of inches lower, but the dark vase didn’t look like a vase. So I added more background fabric on top, and put a top on the vase.

Do you see the birds on the vase? One looks like he’s looking into the front vase. He was a happy accident.

I might have to try this again and try to more closely interpret the colors and reflections in the photo. I might posterize my photo for a guide, like many of you did for your quilts.

Tuesday, February 06, 2007

Sunflowers


10" x 12"

I didn't think I would have time to participate this month...but in the middle of the night I remembered I had started a still life of sunflowers in a vase some time ago. I immediately got up, found it and cropped it within an inch of its life. Great fun! A little thread painting for shadows and some quilting the next day and it was done.

Monday, February 05, 2007

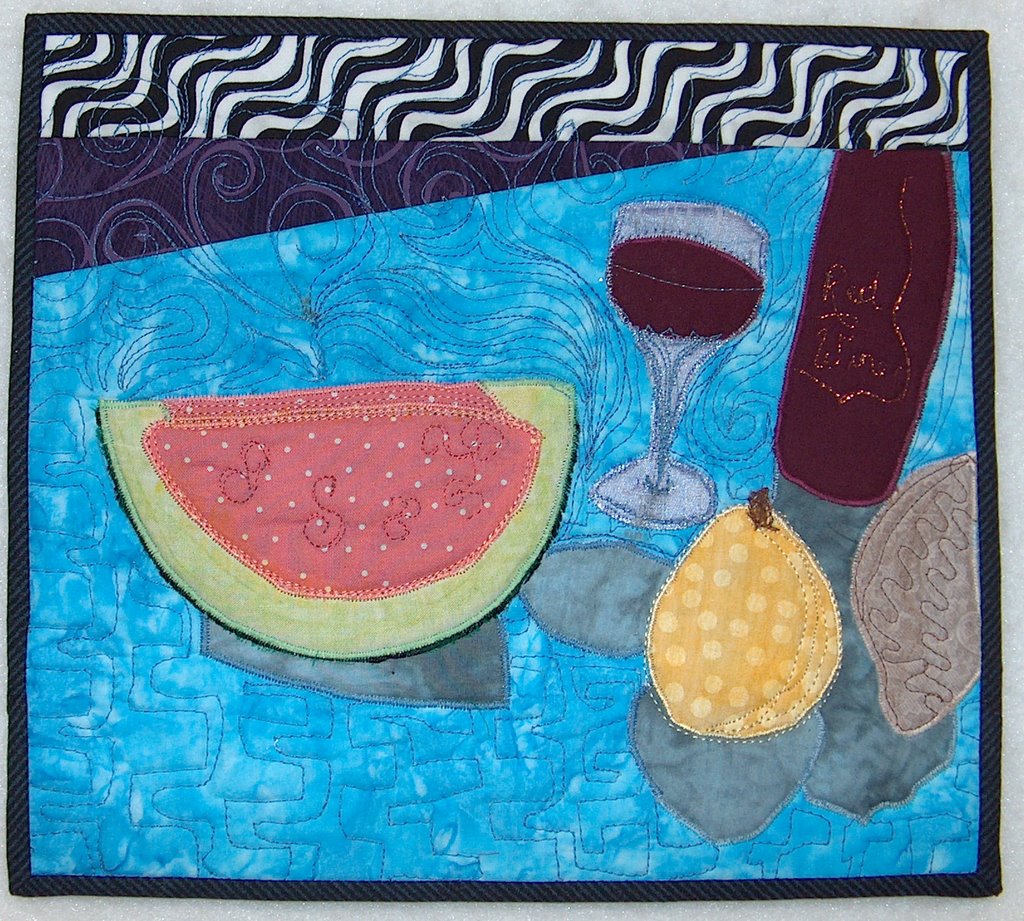
Dinner at Nine

This piece measures 10 1/4 x 11 1/2.
I used a photo to be guided by.

I am looking forward to any comments.
Carole

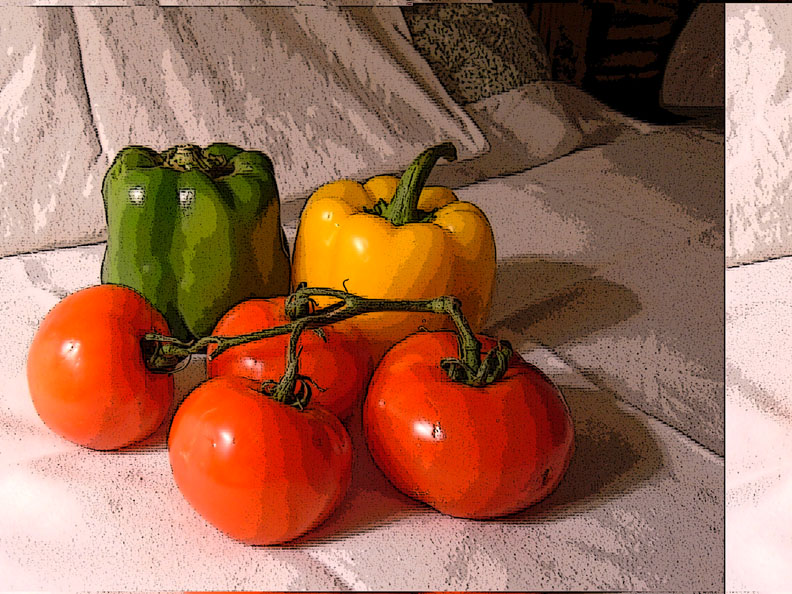
Maters & Peppers


The first image is the posterized digital pic of my piece. The finished work is the other one. All comments appreciated. Sorry about the earlier problem - it seems that the problem may be with my other ISP.

Finished and only a day late. Maters & Peppers measures 10.5x7'5" and is raw edge fabric under a layer of illusion with minimal quilting (outlines of fruit and indentations in the peppers).

This was actually my second attempt at this piece. The original version had some design flaws and wasn't working well, so at noon yesterday, I decided to make another complete version. I'll keep the other one to use as a "what not to do" reference for the future.

The vines on my piece are heavy twine. The shadows are fused chiffon, which allowed the woodgrain table to show through. It's 1/2" shorter than I planned due to an ironing mishap (Note to self: irons and illusion do NOT mix). The entire piece was pillowcased and turned so that binding would not be needed. It will probably go in a frame under glass similar to Rhonda's coffee cup.

This was definitely a shift in style for me, and a challenge to complete.

A Bowl of Flowers


I tried creating dimension by depicting a corner, as where a hall might lead off from a room, and made the shape and shading to indicate that turn-off. The material for the flowers were scraps that I was given during a recent stay in a Mayan village in Belize; I later found one more piece that I had cut to fill part of the upper right of the arrangement, but since the whole piece is already mounted on foamcore, I will leave it off. I did think of maybe making a backing for it, stiff enough so I could tack it on so it would come out of the picture a bit.

Going with the directive to crop the picture, I originally had some of the flowers at the top and left being cut off by the border, and that just felt wrong. So the background gets cropped; I'd rather violate one of the guidelines than the integrity of the piece.

Sunday, February 04, 2007

Brenda's Still Life


I decided to redo a still life I did for my September journal of some pots up above my foyer. I tried to add shading to the pots with Neocolor II pastels (worked better on some than others), and then by thread painting. The yellow wall is shaded with a layer of gold tulle. I admit I misunderstood the guidelines about cropping on three sides (a case of jumping in before carefully studying the rules:), so I really only cropped the right side slightly. I'm also not totally thrilled with the way I have the fabric coming out of the pot, but I'm not sure I want to rip out the stitching and try to fix it either. This was a great challenge! Now that I've seen what everyone has done with the cropping technique, I plan to try this again.

A penny for a spool of thread I


9.5"x9.5"

I had fun bringing out all my old black and white prints. I especially liked the part about the cropping; it was a challenge at first, but I will be sure to explore closely cropped images again. I like the way it gives a little sense of mystery. My original intentions were to make the still life more abstract, but in the end I decided realistic would be quicker since I wouldn't have to do so much trial and error to get the shapes, shadows, and everything right. A bad batch of Wonder Under caused the pieces to start falling apart, so I called it done at one border. The applique is raw edge, my first time not completely covering all the edges. I don't want to add a sleeve because that would cover up the picture (the border's only 3/4"). Any suggestions on how to hang it? If you want to see the top before the quilting, it's here on my blog.

Saturday, February 03, 2007

Time to Mend


7 1/4" x 6 7/8"

cottons, tissue lame, wrong side of satin
cotton/rayon/metallic thread

This is definitely the smallest quilt I've ever done! Also this was the most difficult challenge so far for me to do. I have quite limited experience with drawing; I chose some difficult ffabrics to work with; this was my first attempt at building a picture with Wonder-Undered pieces onto a pattern; and my first cropping. The edges are finished with satin stitch.

I certainly learned a lot and am happy with the results.

Sally Field

Friday, February 02, 2007

Dreaming of Summer


This was fun, I have been wanting to try a mug of beer for awhile and this was the perfect opportunity. I used a real silk flower, and a piece of plaid fabric folded and draped to resemble the napkin. The beer mug is yellow fabric with iron on vinyl on it, the vinyl also covers and inch or so of the head, the rest of the head is poly fiberfill attached on top of the vinyl, covered with tulle and free motioned over. I added some highlights to the mug and the table near the napkin with fabric crayons. I couldn't think of a way to make the drops on the mug...well I thought of using drops of super glue or clear nail polis but dont have either...any suggestions to make my mug look frosty?
Thursday, February 01, 2007

Still Life - revised


You people are awesome! I absolutely see what you mean, and I hope this is better, because the pieces are whacked!..LOL I really do like it better this way, but now my problem is keeping the left edge straight. The basket is just too unruly and wants to bulge! I will probably frame this piece, so that shouldn't be a big problem.

So...what do you think...did I get it right this time? I am learning so much from you pros.......

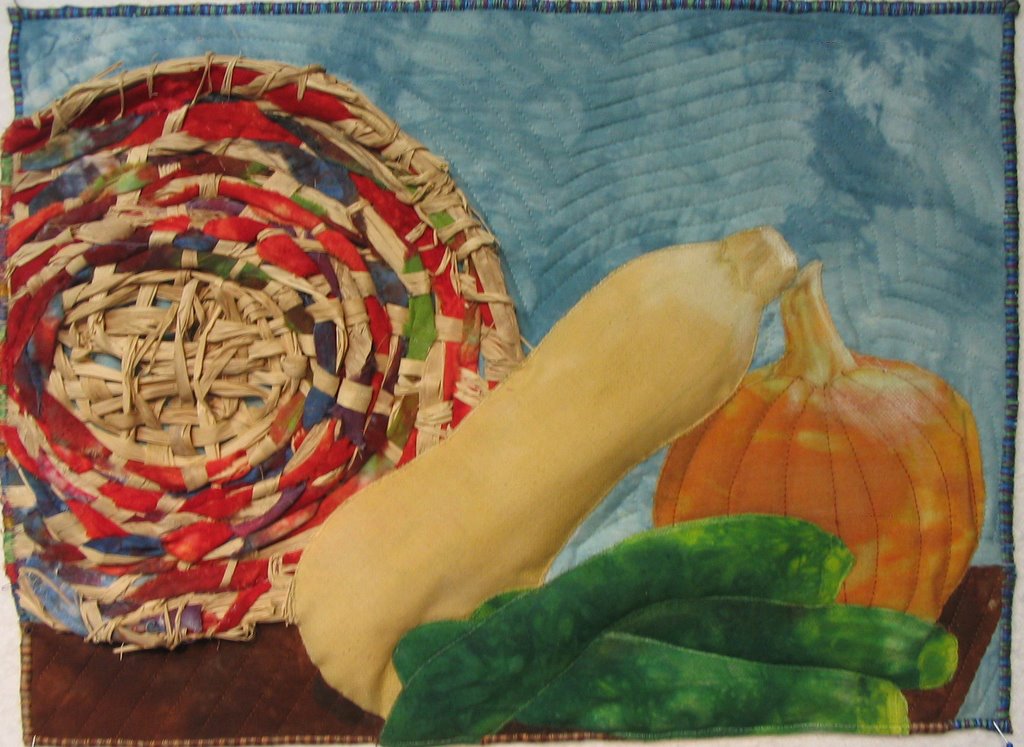
Still Life


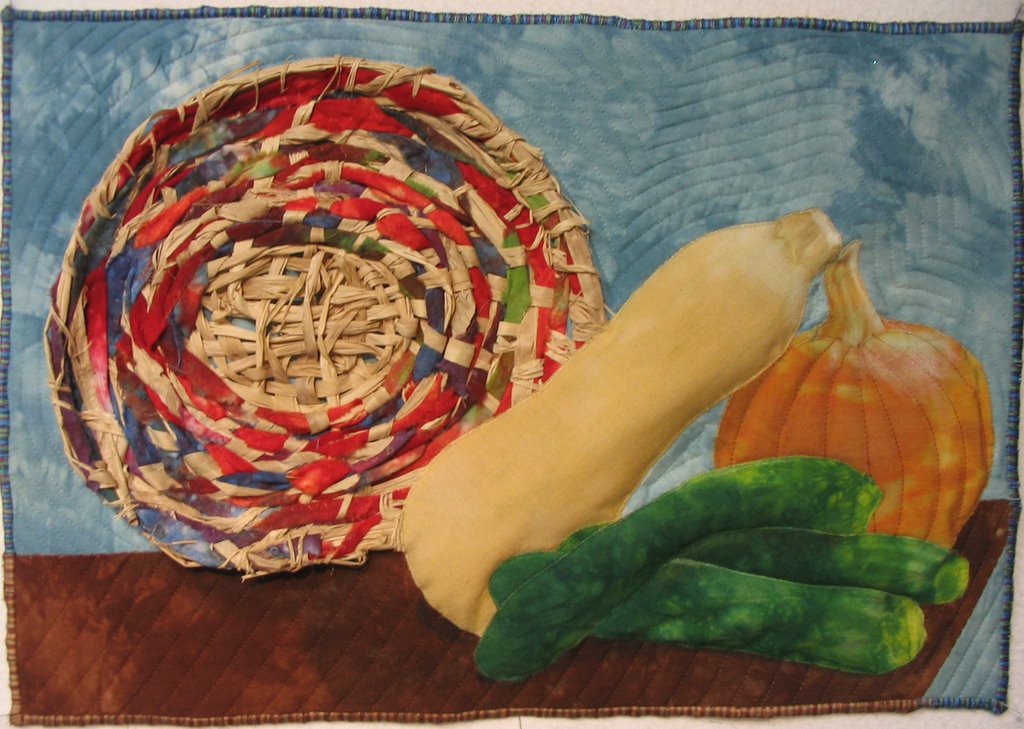
I posed the veggies with a basket and took a photo to work from. I wove the basket using raffia and strips of fabric twisted together. The veggies were all stuffed trapunto style before the quilting was done. I used my hand dyed fabrics augmented with Prismacolor pencils to add shadows and contours.
I wasn't really sure what was meant by 'crop three sides'. Did I get it right?

I would love your great suggestions...

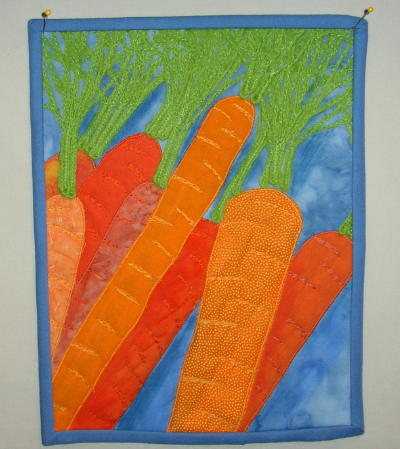
Carrot Soup


That hardest part was thinking of a subject. I had set up the still life ages ago and took some photos. I used a crop photo to work from. I did a blue background to complement the orange carrots - if I redid it I would have used a different background. I used pastels for shadows - which would have been better had the background been lighter. Yarn for the leaf tops couched down at random. Quilting on the carrots to add some dimension.

Finished size 8 1/2 x 11.

This by far ranks as the hardest challenge - a little too realistic. I think I'd like to go back and do an abstract still life. Good to think of shading next time I would have looked at my pastels before I picked the fabric. I used only what is on hand - scraps only.

Lisa - In Sunny Seattle

Breakfast Table Still Life


8 X 10
Raw edge applique
Shiva Paintstiks
Free motion quilting

This challenge was fun. The hardest part was deciding what items were going into my picture. I finally gave up and photographed what was already sitting on the breakfast table. I enjoyed using the Paintstiks except I forgot they had to dry for a while and made the mistake of pressing the little quilt. Just a bit of a mess. I also want to announce that I finished the edges with a satin stitch - I always put on a tidy little binding so wah hah I've gone wild.

Any comments or suggestions you share will be appreciated. Thanks, Roberta

Tuesday, January 30, 2007

Tina's Cropped Still Life


This is my cropped still life. I used all commercial fabrics, but to get the shadowing I used neocolor II watercolor crayons. I think it worked great! I also used a zig zag stitch around the edge to catch a brown and green yarn for some interest instead of a traditional binding. Would love comments. tmrey@echoes.net

Tina
:-)

Sunday, January 28, 2007

Justa Cuppa


The shading and color shifts of the coffee cup were done by fussy cutting a single piece of commercial hand-dyed/tie-dyed looking stuff. The background is a second piece of fabric. I used a fabric collage technique with a layer of purple tulle over it. There are approximately 25+ individual pieces of fabric for the collage and it is quilted along the lines of the cup and saucer. The quilt itself is 5.5x8 and the green backing (not a part of the quilt) and frame are 8.5x11.

Threads and Stuff

I don't know what to say except this was fun. I love these challenges. They make me do things I would never think about or get around to doing otherwise. I took a picture and went from there.

This was fused and machine appliqued and quilted with invisibile thread. The size is 22-3/4" x 12-3/4".

Challenge #5 ~ Cropped Still Life

Challenge # 5 – Friday, 26 January 2007

Challenge # 5 Hostess – Linda Cline

Theme – Cropped Still Life

Design Element – Form (adding the illusion of dimension to flat shapes)

--- Design and complete a small work based on a still life. Subject matter is your choice. You may work very straightforwardly and realistically, or you may interpret your still life in a more abstract manner. Don’t forget to pay attention to form if you choose to work more abstractly.

--- Crop your composition so at least three sides of your still life extend to the border or edge of your quilt. You may count cropping a shadow as one of the sides that have been cropped (shadows are part of your composition).

--- Give attention to light and shadow, so you can make the objects in your still life look dimensional. Shade objects and create cast shadows using whatever method you would like.

Discussion - The following is included for informational purposes only:

You may create a typical still life of fruit or flowers. Or you may create something with less traditional objects. Gather up anything you have lying about. Or “find” a still life (a pile of books, the dishes in your cupboard, abandoned flower pots. . .). Objects depicted in quilts are often very flat looking. This challenge will help us put the illusion of dimension into our quilts. I'm sure we will come up with a wonderful variety of ways to accomplish this. You could construct each object from multiple shades of a similar color fabric. Or you could cut each object from one fabric, and use paint or other surface design technique to shade your objects. Don’t forget cast shadows. They will “ground” your objects so they don’t appear to float. Make your shadows as interesting as the rest of your composition.

Cropping our still lifes will force us to think about the best placement of objects in our quilt. I like what Pamela Allen expressed about cropping in her November 1st email to this group: “. . . exactly what I urge students to do instead of trying to confine the image inside the rectangle. There's life OUTSIDE too and the viewer's eyes go there! . . .” Preliminary sketches or digital photos will let you experiment with various compositions before beginning.

Some suggestions for setting up a still life: http://drawsketch.about.com/cs/howtoindex/ht/still_life.htm

A discussion of cast shadows and form shadows: http://painting.about.com/cs/paintingknowhow/a/shadows.htm

An article about finding form:
http://www.painterskeys.com/clickbacks/finding-form.asp

More than a few examples of quilt artists who create still lifes, but each artist approaches the subject her own unique way. Take whatever inspiration you want from any of these examples:

Lisabeth Gutierrez:
http://www.lisabethgutierrez.com/StillLife.htm
Lisabeth outlines objects in her quilts with dark fabric. I’m sure I have read somewhere that outlining things will make them appear flat. But Lisabeth seems to have outlines and dimension at the same time.

Terry Grant:
http://andsewitgoes.blogspot.com/ (blog)
http://the-portfolio.blogspot.com/ (portfolio)
Terry is another artist who uses outlines with success. She has a tutorial on her blog that shows how she uses colored pencil to add dimension to her shapes. http://andsewitgoes.blogspot.com/2006/04/my-fusing-method.html

Ellen Lindner:
http://www.adventurequilts.com
Ellen has still lifes in her “Pictorial” gallery. Be sure to look at how she made her apple quilt on this page http://www.adventurequilts.com/making_of_apple_still_life.htm.

Velda Newman:
http://www.veldanewman.com/gallery.html
Now these quilts are really “HUGE” but the same look could translate well small also. She has shown detail shots in her thumbnails that are wonderful compositions in themselves, and are good examples of cropping. But her designs go all the way to the edge even on the large quilts.

Alice Beasley
http://www.alicebeasley.com/stilllifes.html
These look good enough to eat.

Barbara Barrick McKie
http://mckieart.com/Pages/thumnail_pgs/Still_Life_Series.html
Silk painting and disperse dyed polyester.

Dominie Nash
http://www.dominienash.com/stills.html
Much looser style than the other examples, but just as wonderful. Some are very abstract.

Due - Saturday, Noon EST, 3 February 2007